Mitre-Att-ck-table
Mitre Att&ck detection coverage tracking with Kibana
Elastic SIEM app comes with many built-in detections that can be found in this open github repository and they all come with at least one Mitre Att&ck technique and one tactic. To read more about Mitre Att&ck framework click here
It is critical to know what detection gaps you have in your environment. This visualization can help you identify your gaps a little better so that you can better allocate your time and effort to create the detections accordingly. The article is going to walk you through the process how to get this visualization built in your Kibana for better detection coverage visibility.
Step 1: Identify where the Elastic Signals metadata can be found in Elastic.
- The Elastic Signals information can be found in .kibana system index with query below:
GET .kibana/_search { "query": { "bool": { "must": [], "filter": [ { "match_all": {} }, { "exists": { "field": "alert.name.keyword" } } ], "should": [], "must_not": [] } } } - A challenge with this sub-dataset being stored in .kibana index is that some of the fields we need for the visualization are not indexed/mapped. Hence step 2.
Step 2: Copy the Elastic signal metadata out to a different index using Elastic Reindex API
POST _reindex
{
  "source": {
    "index": ".kibana",
    "query": {
      "bool": {
        "must": [],
        "filter": [
          {
            "match_all": {}
          },
          {
            "exists": {
              "field": "alert.name.keyword"
            }
          }
        ],
        "should": [],
        "must_not": []
      }
    }
  },
  "dest": {
    "index": "kibana-detections",
    "version_type": "external"
  }
}
- This API request queries the data in .kibana and send that to a new index called kibana-detections. Setting version_type to external causes Elasticsearch to preserve the version from the source, create any documents that are missing, and update any documents that have an older version in the destination than they do in the source. However, you want to automate this process so you will always have the most up to date information about your detections state. Hence step 3.
Step 3: Automate the reindex process with watcher or any script with cronjob
{
  "trigger": {
    "schedule": {
      "interval": "5m"
    }
  },
  "input": {
    "http": {
      "request": {
        "scheme": "https",
        "host": "<your Elasticsearch URL>",
        "port": 9200,
        "method": "post",
        "path": "/_reindex",
        "params": {},
        "headers": {},
        "auth": {
          "basic": {
            "username": "elastic",
            "password": "::es_redacted::"
          }
        },
        "body": """{"source": {"index": ".kibana","query": {"bool": {"must": [],"filter": [{"match_all": {}},{"exists": {"field": "alert.name.keyword"}}],"should": [],"must_not": []}}},"dest": {"index": "kibana-detections","version_type": "external"}}"""
      }
    }
  },
  "condition": {
    "always": {}
  },
  "actions": {
    "my-logging-action": {
      "logging": {
        "level": "info",
        "text": "Finished reindex detections"
      }
    }
  }
}
- Once the reindex API is executed successfully, you should have a new index called kibana-detections with all the fields being mapped using default Elastic dynamic mapping and it is good enough for us to proceed to step 5.
Step 5: Create the Vega visualization
- In Kibana –> Visualization –> Create visualization –> Custom visualization –> paste the code from here
- To make the cells are clickable and take you to your kibana saved search that display the details of the Kibana alerts, make sure to replace https://kibana_Link with your actual kibana link in the vega code.
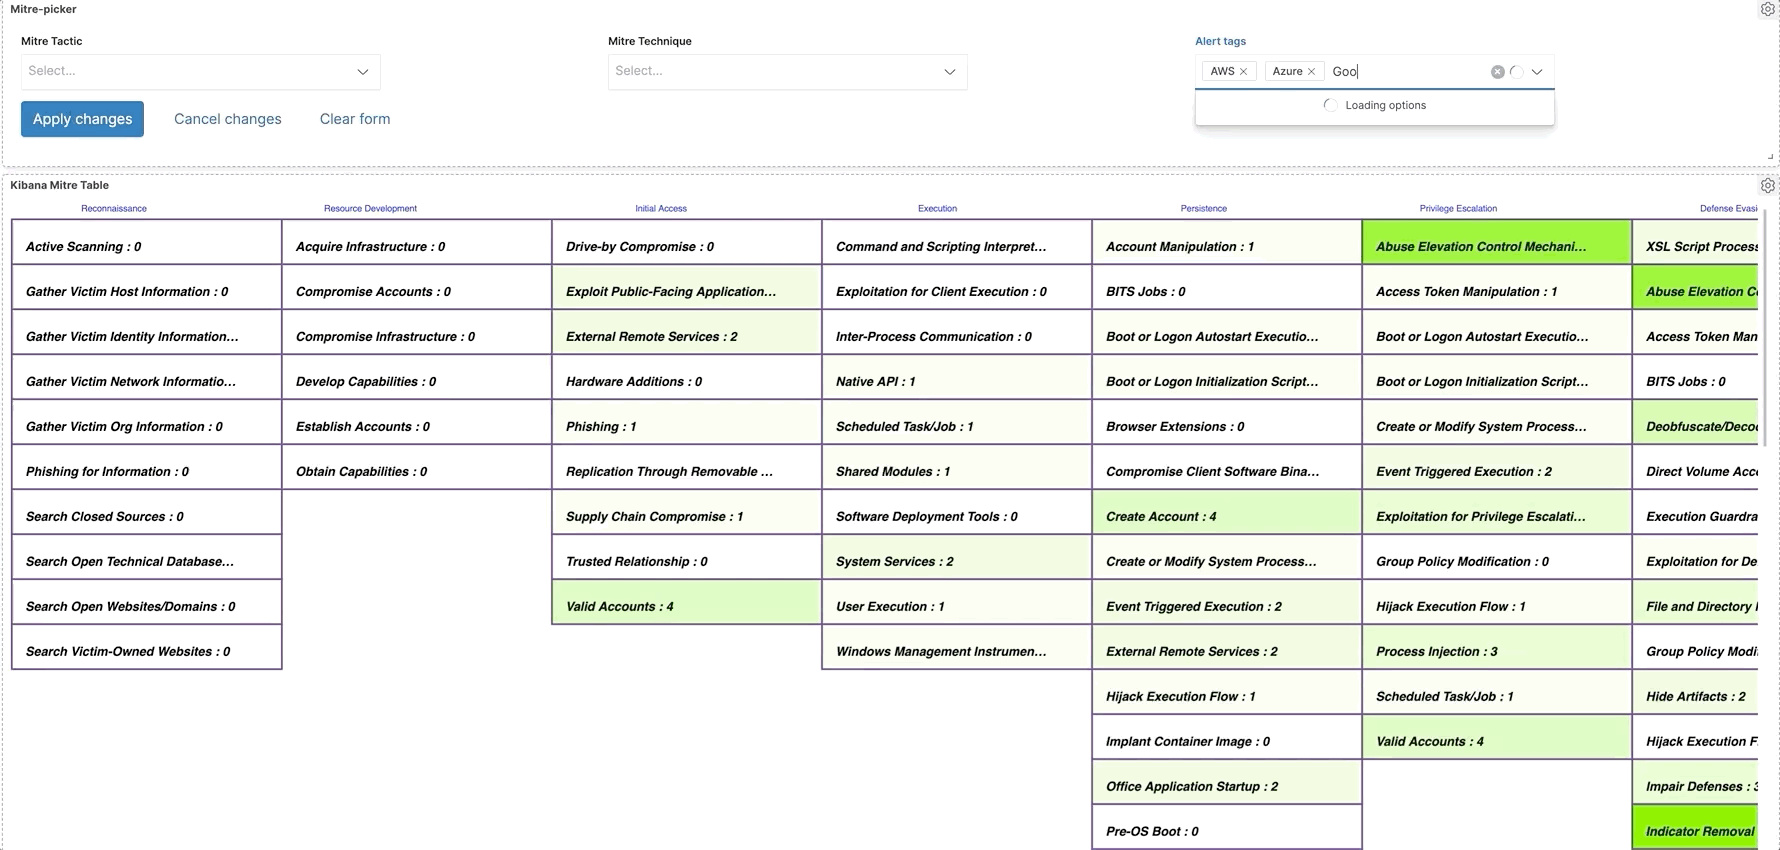
By now you should have something that looks like this.
Hope you find this useful.
Ready to get started? Sign up for a free trial of Elastic Cloud, learn more about Vega Visualization.
Thanks to Aaron Nimocks for helping me along the way with my Vega questions